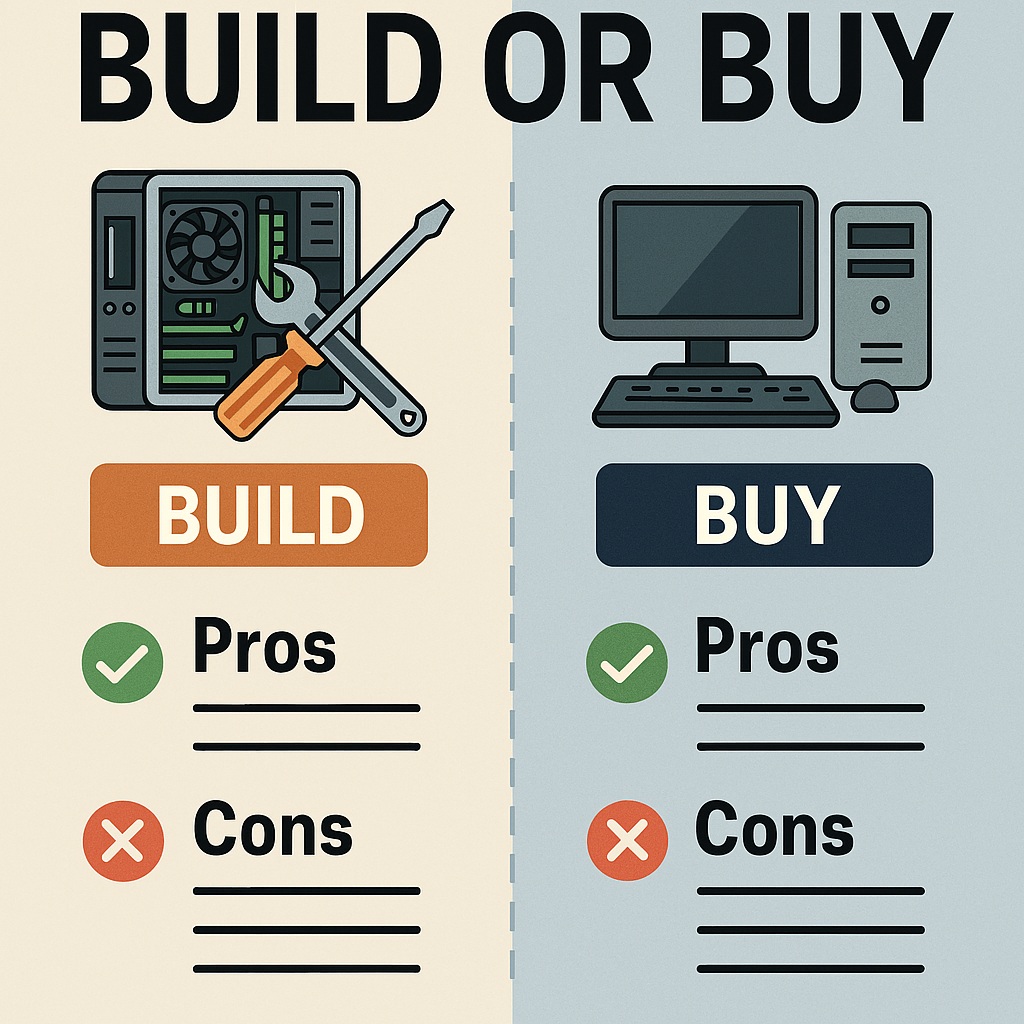
Pre-Built vs. Build-It-Yourself PCs: A 10-Minute Buying Guide
Shopping for a new computer can feel like standing at a fork in the road: do you buy a pre-built system off the shelf, or do you roll up your sleeves and build one yourself? Both paths can lead to a great machine, but they differ in cost, convenience, flexibility, and long-term satisfaction. This article walks you through those differences so you can confidently choose what fits your budget, timeline, skills, and goals.
TL;DR (Quick Summary)
- Build Your Own: Maximum customization and control over part quality (name brand parts) and noise/thermals; often better performance per dollar; excellent learning experience. Requires time, patience, and troubleshooting.
- Pre-Built: Fast, convenient, and covered by a single warranty and support line. Usually less customizable, may include generic parts or bloatware, and sometimes costs more for the same performance.
What “Pre-Built” and “DIY” Actually Mean
A pre-built PC is assembled by a manufacturer or retailer. It comes ready to power on, with Windows (or another OS) installed, drivers configured, and a warranty that covers the whole system. A DIY build is one you assemble from individual components: CPU, motherboard, memory (RAM), storage, graphics card (if needed), power supply, case, cooling, and operating system. You pick each brand and model, connect the parts, install the OS, and handle driver updates yourself.
Customization & Part Quality
The biggest draw of building your own is control. You can choose exactly the CPU, GPU, RAM capacity and speed, storage type (SATA vs. NVMe), the case aesthetic, fans, and even cable color. You can prioritize silent operation, small form factor, RGB lighting, or airflow-first minimalism.
- DIY Advantage: Pick quality, name-brand parts across the board (power supply, motherboard, SSD, fans, etc.) so there are no weak links. You decide what to splurge on and where to save.
- Pre-Built Trade-off: Many models use generic or no-name components in areas buyers don't usually inspect (power supply, motherboard, RAM timings, SSD endurance). You may not get the exact specs you want.
If you value reliable, branded parts, especially a good power supply and motherboard, DIY gives you the steering wheel. With pre-builts, premium brands do exist, but you'll often pay extra for configurations that explicitly list those parts.
Price & Value Over Time
Pricing varies with sales, supply chains, and timing, but some general patterns hold:
- DIY Can Maximize Value: When you comparison-shop, you can often achieve better performance per dollar by selecting components on sale and avoiding markup on flashy extras you don't need.
- Pre-Built Can Be Competitive...Sometimes: During GPU/CPU shortages or big retail promotions, pre-builts can undercut DIY because builders buy parts in bulk. Entry level and mid-range systems sometimes price out close to DIY.
- Hidden Costs: DIY needs an OS license (unless you use Linux), tools (a screwdriver is usually enough), and possibly shipping costs for returns. Pre-builts may include the OS and sometimes peripherals.
Over the long run, DIY can save money on upgrades because you're not locked into proprietary cases, motherboards, or power supplies. You can drop in a bigger SSD or quieter fans without compatibility headaches.
Performance, Thermals & Noise
Performance is not just about raw parts. It also depends on cooling, power delivery, and how the case moves air.
- DIY: You can choose a high-airflow case, better CPU coolers, and quality fans to keep temperatures down and noise low. You control RAM speeds, SSD quality, and BIOS settings.
- Pre-Built: Many mass-market systems prioritize compact design or flashy looks over airflow. Some ship with minimal case fans, a basic cooler, or aggressive power limits to manage heat. There's nothing worse than having the performance on your brand new computer limited because of heat.
If quiet operation and sustained performance under load (gaming, 3D rendering, compiling, video editing) matter, DIY lets you optimize thermals rather than settle for whatever's included.
Warranty, Support & Troubleshooting
Support is where pre-built machines shine:
- Pre-Built: One phone number and one warranty for the whole PC. If it fails, you ship it back or schedule a service. That simplicity can be worth a lot.
- DIY: Each component has its own warranty (CPU, GPU, motherboard, RAM, SSD, PSU, case). If something fails, you diagnose the issue and initiate an RMA with the specific manufacturer.
If you're not comfortable with basic diagnostics or you need the least hassle, a pre-built's unified warranty adds peace of mind. If you enjoy learning and don't mind occasional RMAs, DIY is manageable, especially with community guides and forums.
Upgradability & Longevity
Virtually all standard DIY builds use off-the-shelf parts with common mounting and power standards. That makes future upgrades easier.
- DIY: Choose a motherboard with extra M.2 slots, a power supply with headroom, and a case that fits larger GPUs or extra radiators later.
- Pre-Built: Some use proprietary connectors, custom cases, or odd airflow layouts that complicate upgrades. Others are fully standard. Check the specs carefully.
Software Experience (Bloatware vs. Clean Install)
Pre-builts sometimes ship with trial antivirus, OEM utilities, and other preinstalled software. This can consume storage, add pop-ups, or impact performance until you clean it up.
- DIY: You start with a clean OS install. You choose drivers and utilities you actually want.
- Pre-Built: Many are fine out of the box, but others require 20-30 minutes of uninstalling extras.
Time, Effort & Learning Curve
A first-time builder can assemble a PC in a few hours by following a modern build guide. The most time-consuming parts are cable management and software setup. If you'd rather not spend an afternoon learning how to route fan headers or update BIOS, a pre-built saves time.
- DIY Pros: Learn valuable skills, gain confidence to troubleshoot, and understand exactly how your machine works.
- DIY Cons: Possible hiccups: a loose cable, RAM not fully seated, BIOS setting needed for XMP/EXPO, or a fan curve to tweak.
- Pre-Built Pros: Plug in, update Windows, game or work. Little to no setup friction.
- Pre-Built Cons: Less control and sometimes slower support if you must ship the whole unit for repair.
Aesthetics & Form Factor
Cases, lighting, and noise profiles are subjective—but DIY gives you creative freedom.
- DIY: Pick compact ITX, airflow-centric mid-tower, or showpiece glass; choose tasteful or bold lighting; tune fan profiles for silence.
- Pre-Built: You get the look the vendor offers, with limited internal layout options. Some boutique builders allow custom choices, but that increases price.
Reliability & Quality Control
Reliability hinges on both component quality and assembly.
- DIY: You can select top-tier PSUs, motherboards with robust VRMs (voltage regulator module), and SSDs with good endurance ratings. Your assembly quality matters. Careful building pays off.
- Pre-Built: Professional assembly and burn-in testing can catch early failures, but some mass-market systems cut costs on less visible parts. Boutique pre-builts often do better QA, for a premium.
Resale Value
DIY builds may hold value better because buyers can see a parts list with reputable brands. Some pre-built systems have vague specs (“500W power supply,” “512GB SSD”) which can make second-hand buyers cautious. However, popular brand pre-builts with transparent component listings can resell well too.
Special Note: Laptops vs. Desktops
This comparison mostly applies to desktops. Laptops are essentially pre-built by nature. While you can select RAM or SSD in some models, CPU and GPU are almost always fixed. If portability matters, you'll be shopping pre-built either way. It is worth noting that if you want the option to upgrade RAM you should choose a laptop with available memory slots.
Who Should Build? Who Should Buy Pre-Built?
Consider Building Your Own If You:
- Want exact specs and brand-name components (quality PSU, specific motherboard features, quiet fans).
- Care about low noise and good thermals, or a specific look and case size.
- Enjoy learning and don't mind initial setup and occasional troubleshooting.
- Plan to upgrade over time and want standard, non-proprietary parts.
- Want to squeeze maximum performance per dollar with smart part selection.
Consider a Pre-Built If You:
- Need a working PC immediately and value convenience and a single warranty.
- Prefer to avoid the build process and component-level diagnostics/RMAs.
- Find a sale or bundle that matches your needs at a fair price.
- Don't require custom aesthetics or exact component brands.
Common Pros & Cons at a Glance
DIY (Build-It-Yourself)
- Pros: Total customization; choose quality name-brand parts; better thermals/noise with proper choices; often stronger value; clean OS; easy standard-part upgrades; satisfying learning.
- Cons: Time and effort; requires basic troubleshooting; multiple warranties (per component); no single point of support; potential for user-error during assembly.
Pre-Built
- Pros: Instant gratification; single warranty and support; professional assembly and burn-in; sometimes competitive pricing during sales; less risk of installation mistakes.
- Cons: Limited customization; potential for generic/low-quality hidden parts; possible bloatware; proprietary designs that hinder upgrades; can cost more for the same performance.
Practical Buying Tips
If You're Building:
- Power Supply Matters: Choose an 80+ Gold (or better) unit from a reputable brand with enough headroom for future GPU upgrades. Do not be tempted to cheap out on the power supply. A bad PSU can fry the whole computer.
- Motherboard Features: Check VRM quality, M.2 slots, rear I/O, BIOS flashback, and Wi-Fi if you need it.
- Cooling & Case: Favor airflow cases; add adequate intake/exhaust fans; consider a better-than-stock CPU cooler.
- Memory: Match capacity to your workload (16-32 GB for most); enable XMP/EXPO in BIOS for rated speeds.
- Storage: Use an NVMe SSD for the OS and apps; add a larger SSD or HDD for bulk storage if needed.
- Compatibility Check: Verify GPU length, cooler height, and motherboard/case support for your chosen parts.
If You're Buying Pre-Built:
- Demand Specifics: Look for listings that name the PSU model, motherboard, SSD type, and RAM speed/timings, not just capacities.
- Airflow & Cooling: Prefer cases with mesh fronts or obvious intake; ensure the CPU cooler isn't a bare-minimum unit for a high-TDP CPU.
- Upgrade-Friendliness: Check for standard ATX components and room for extra drives or larger GPUs.
- Software Loadout: Expect to remove trialware; it's not a deal-breaker, but factor it into setup time.
- Warranty & Service: Understand RMA process and timelines; some vendors offer on-site service or advanced replacement, which may be worth paying for if downtime is critical.
Example Scenarios
Budget Gamer
You want 1080p gaming on a tight budget. A DIY build lets you pair a value-oriented CPU with a mid-range GPU and a quality PSU, often beating similarly priced pre-builts that cut corners on storage or power supplies. If a retailer runs a deal on a pre-built with a solid GPU and a decent PSU, that could be the easier win. Just vet the parts.
Creator/Developer
You need lots of RAM, fast SSDs, and a quiet system for long workloads. DIY shines: pick a high-airflow case, premium cooler, and motherboard with the I/O you need. A boutique pre-built can deliver similar results if you pay for the right options and verify components.
“I Need It Now” Office User
You just need a dependable machine for documents, browsing, and video calls. A pre-built with clear specs is likely the best move. It arrives configured, includes an OS, and is easy to replace or service.
Safety & Build Confidence (DIY)
- Work on a non-conductive surface; touch the case to discharge static before handling components. Static electricity discharge can destroy sensitive parts.
- Follow your motherboard manual for front-panel connectors and M.2 slot placement.
- Apply a pea-sized dot of thermal paste (if your cooler doesn't come pre-applied).
- Seat RAM firmly until latches click; plug GPU power cables fully; double-check front-panel and fan headers.
- On first boot, go straight to BIOS: enable XMP/EXPO, set boot order, and check temperatures.
Final Verdict
If you value customization, brand-name quality, quiet cooling, and long-term upgradability, and you don't mind learning, building your own PC is deeply rewarding and often delivers the best performance per dollar. If you need a working computer quickly, prefer a single warranty, and are okay with less control over the exact parts, then a pre-built is the stress-free choice.
Either route can lead to a great machine. The “right” answer is the one that fits your timeline, comfort level, and priorities. Use the checklists above, compare real-world part lists, and choose the path that gets you the performance and experience you'll love every day.